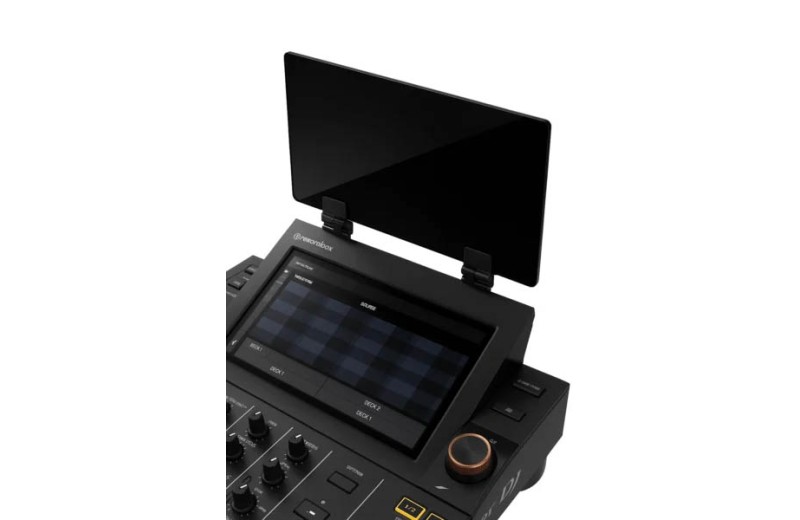
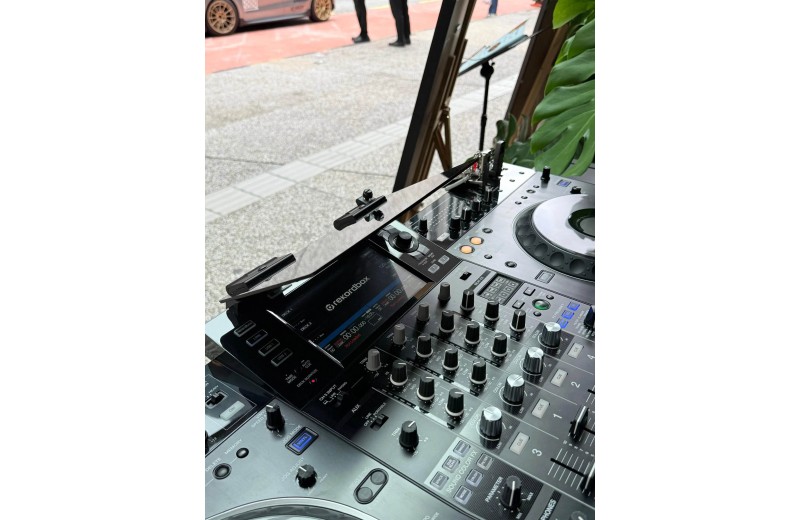
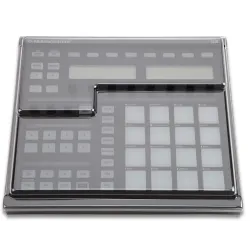
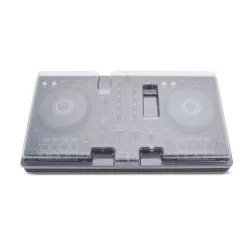
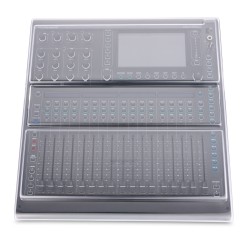
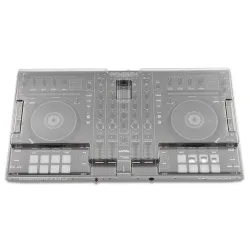
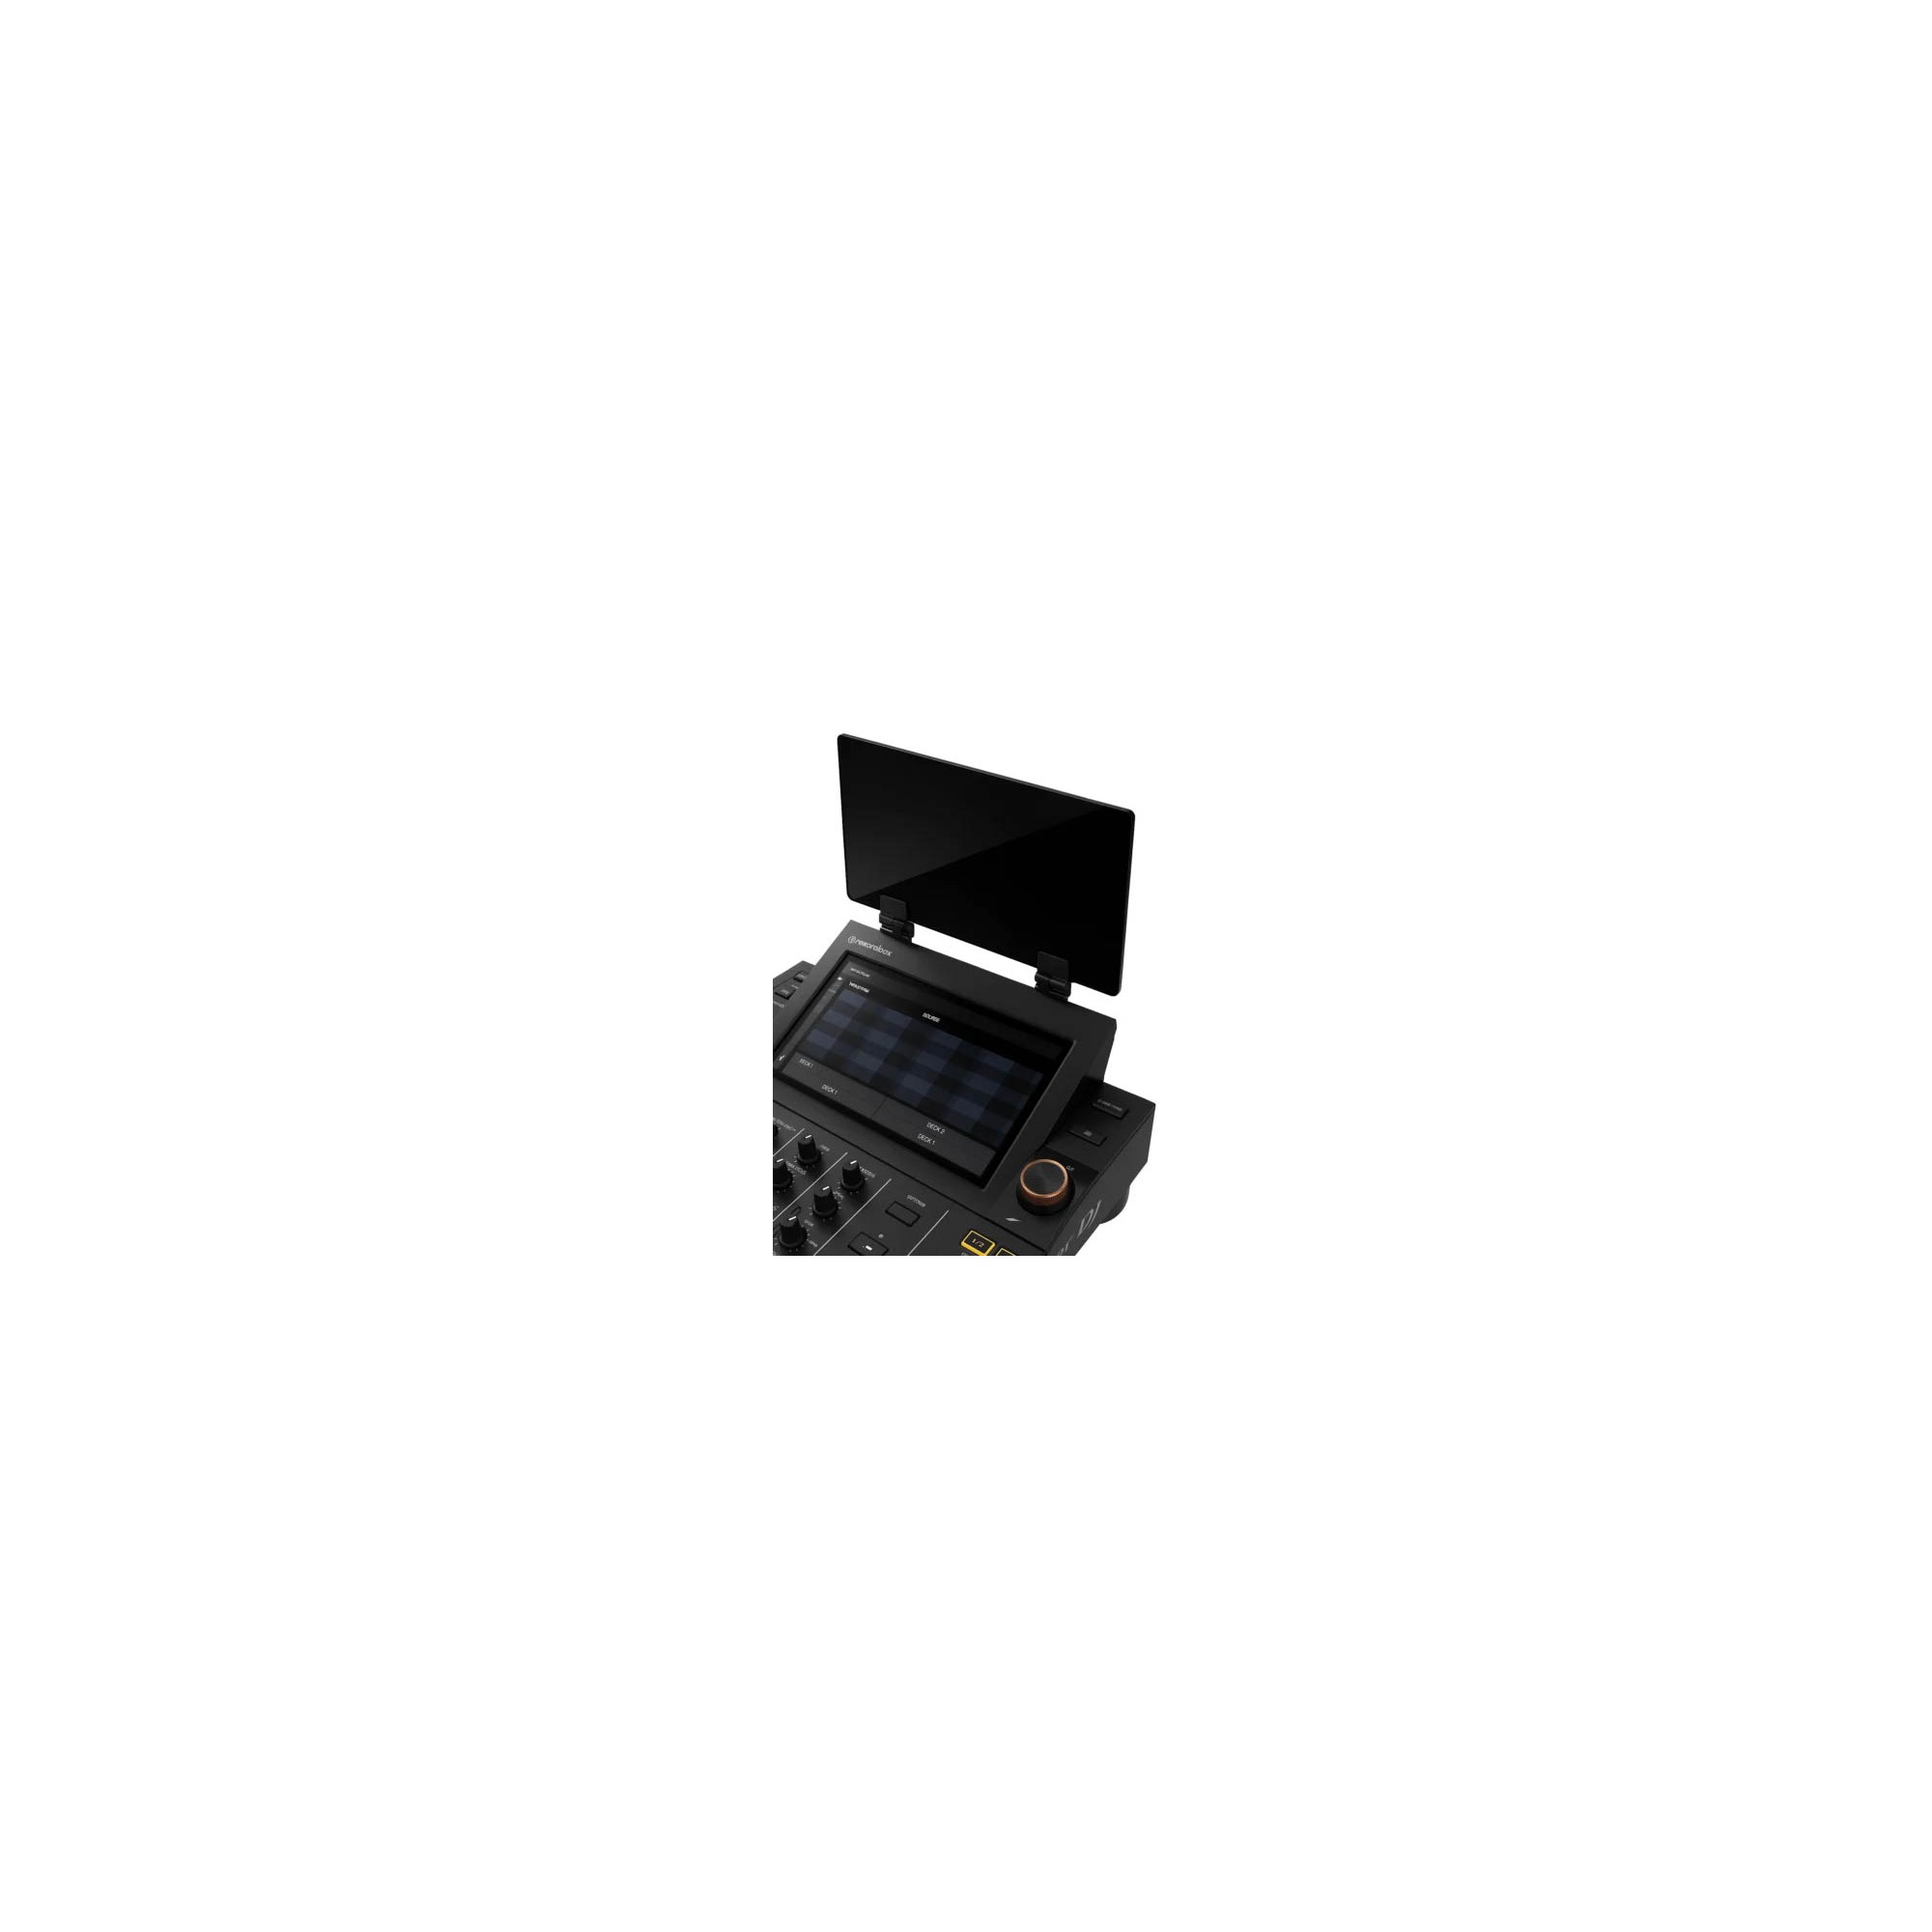
When the sun hits hard, your screen disappears.
The TOPDJSKIN SUNCOVER has been designed for DJs playing outdoors who refuse to compromise on visibility, control, or accuracy.
Built for Real Outdoor Conditions
Festivals. Beach clubs. Rooftops. Pool parties. Corporate events.
If you have direct sunlight at your setup, this is not optional—its essential.
Industrial-Grade ASA Construction
Made from high-performance ASA polymer:
• Heat resistant up to 100°C
• UV stable (wont yellow over time)
• Weatherproof and durable
• Structurally rigid and impact-resistant
This is not hobby-grade plastic. Its professional-grade material for professional environments.
Adjustable and Flexible Design
The smart adjustable system adapts to multiple configurations:
Compatible With:
• XDJ-AZ / XZ / 1000 MK1/MK2
• CDJ-3000 / 2000NXS2
• CDJ-3000X
• RX3 / RX2
• OPUS QUAD
One solution. Multiple configurations. Designed to integrate seamlessly into your setup.
Why It Exists
Because you shouldnt fight reflections in the middle of your set. Because missed cues are not an option. Because outdoor DJs deserve the right tools.
Minimalist. Professional. Thoughtful. Clean lines. Modern design aesthetic that matches contemporary DJ booths.
No DIY appearance. No compromises. No distractions.
SUNCOVER—ASSEMBLY GUIDE (NO TOOLS REQUIRED)
Everything tightens by hand.
1) Identify the Parts
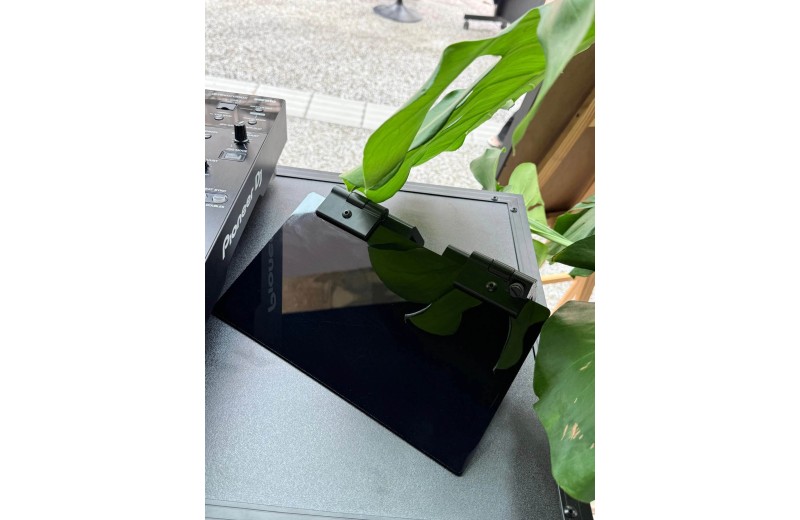
• 2 ? BASES (black parts)
• 1 ? Acrylic panel (with protective film on both sides)
• Screws: M5 > for acrylic
M6 > for device mounting
2) Prepare the BASES
Each HOLDER has:
• 2 slots for M6 nuts (larger)
• 1 slot for M5 nut (smaller)
Initially, place the M6 nuts in their designated slots. They are designed to fit snugly and remain in place.
3) Prepare the Acrylic Panel
The acrylic panel has protective film on BOTH sides (it may look like cardboard, but its not).
Remove both layers before final assembly.
4) Attach Acrylic to BASES
Align the acrylic panel with the BASES. Use M5 screws + M5 nuts to secure it.
Each BASE has a specific slot for the M5 nut. Tighten fully by hand—no tools required.
5) Mount Suncover to Your Equipment
Position the assembled unit on your equipment. Use the appropriate M6 screws:
• M6 x 16 mm > for older Pioneer models
• M6 x 25 mm > for newer AlphaTheta / Pioneer models
These screw into the M6 nuts already placed in the BASES.
6) Angle Adjustment
Use the additional M6 x 16 mm screw to:
Adjust the tilt - Lock the sun cover angle in place
Final Result
Once assembled, the product will look exactly as shown in the product images.
* Once opened, specific products cannot be returned